


What are the delivery costs?
We offer Free UK Mainland Delivery on all orders over £20. Products shipped to outlying UK regions are excluded from free shipping.
Standard delivery is normally 2 - 5 working days.
Please view our delivery page for full information on UK and international delivery costs.
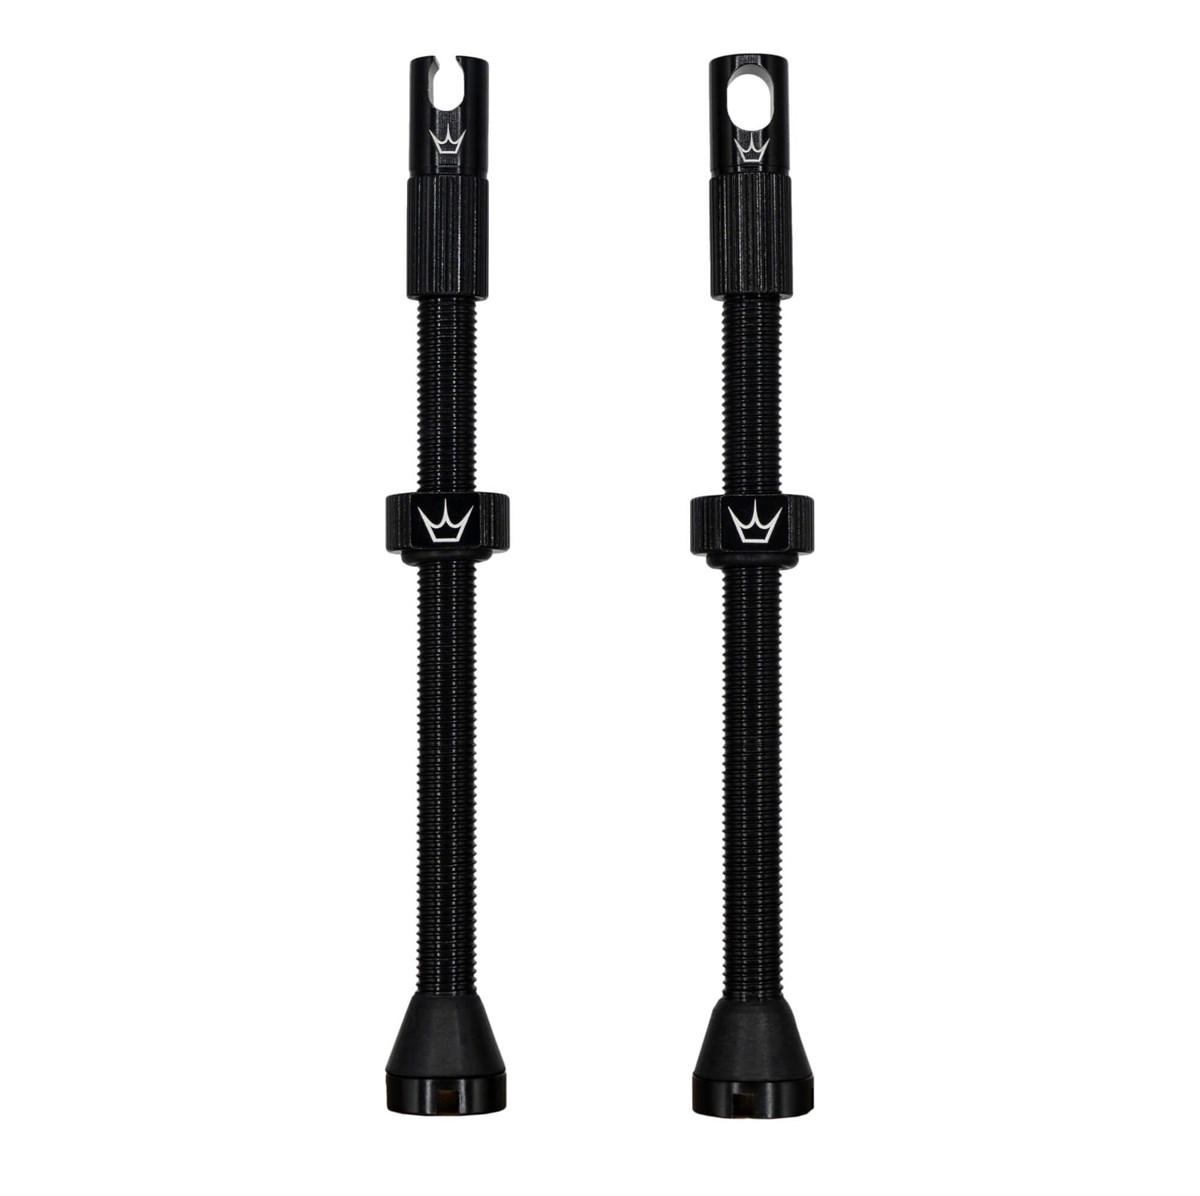
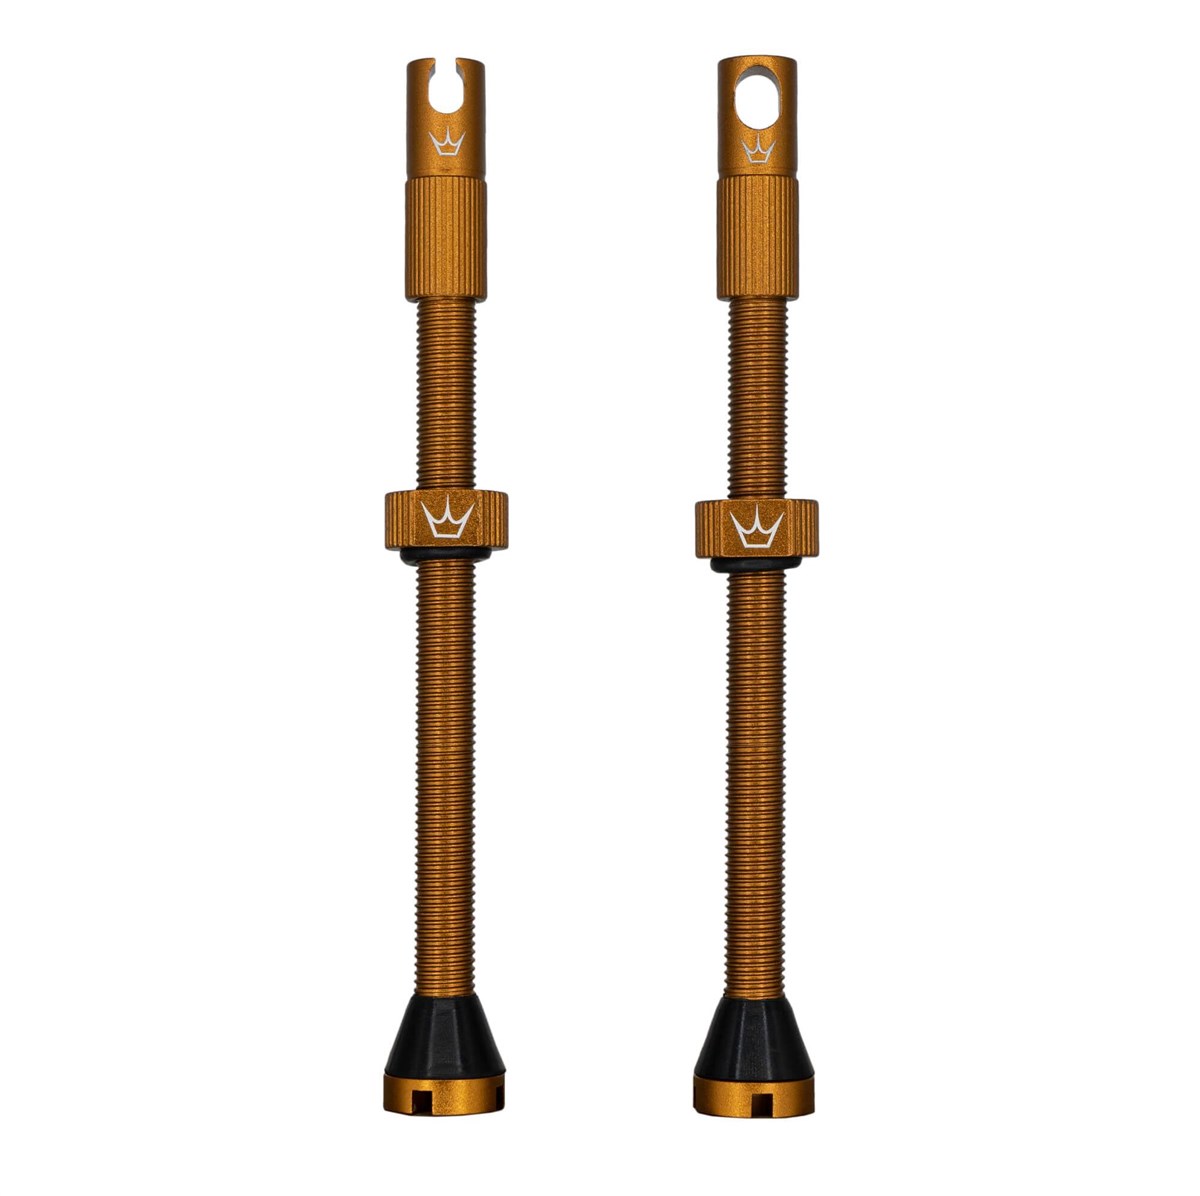
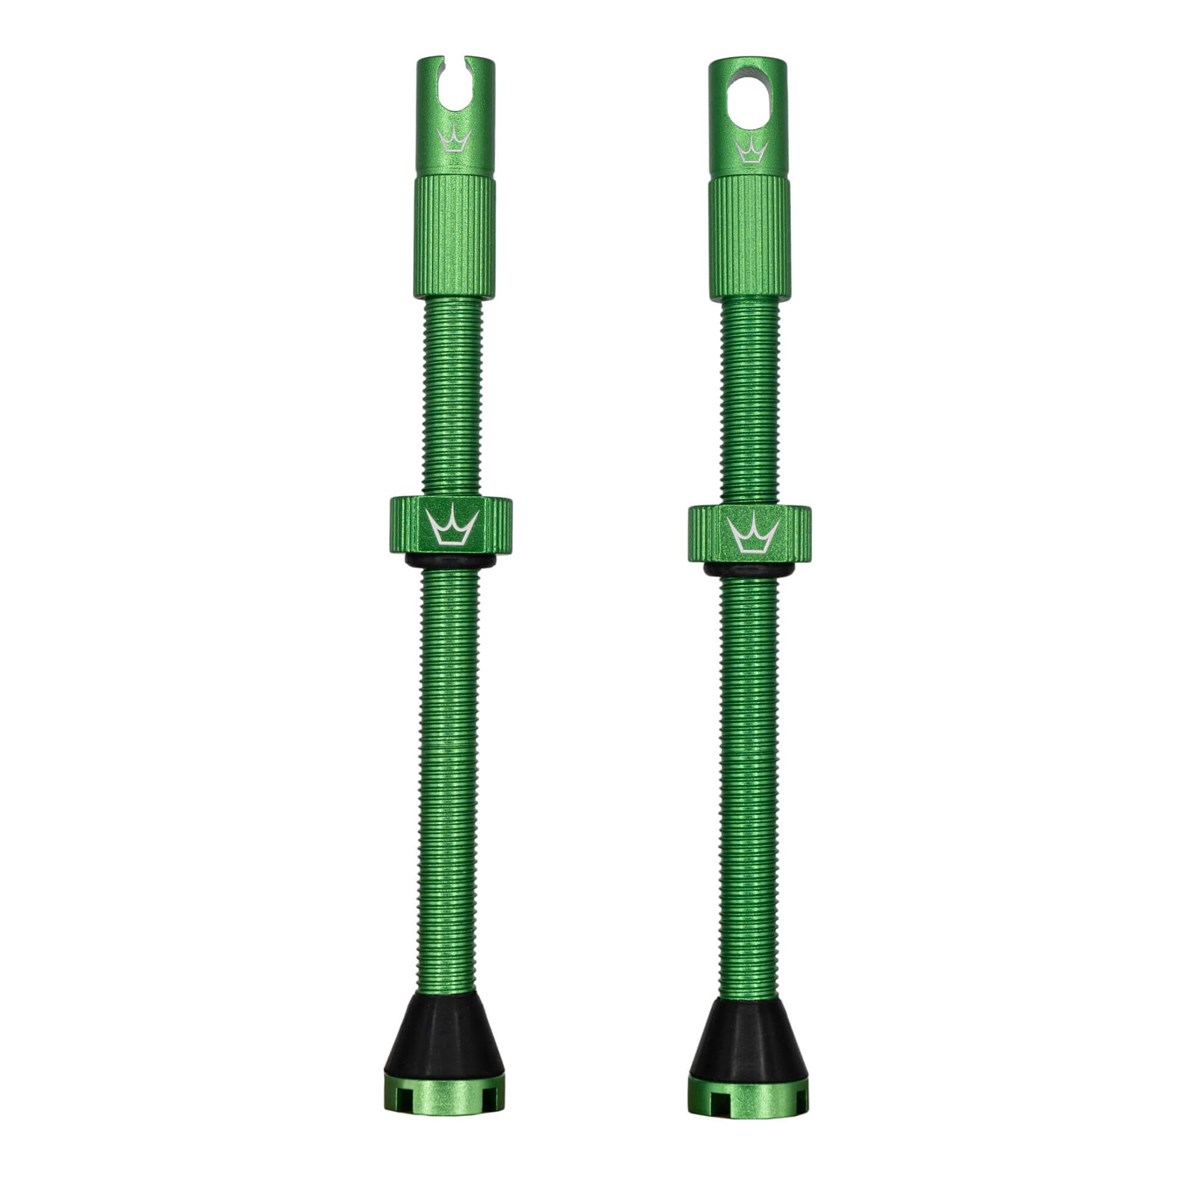
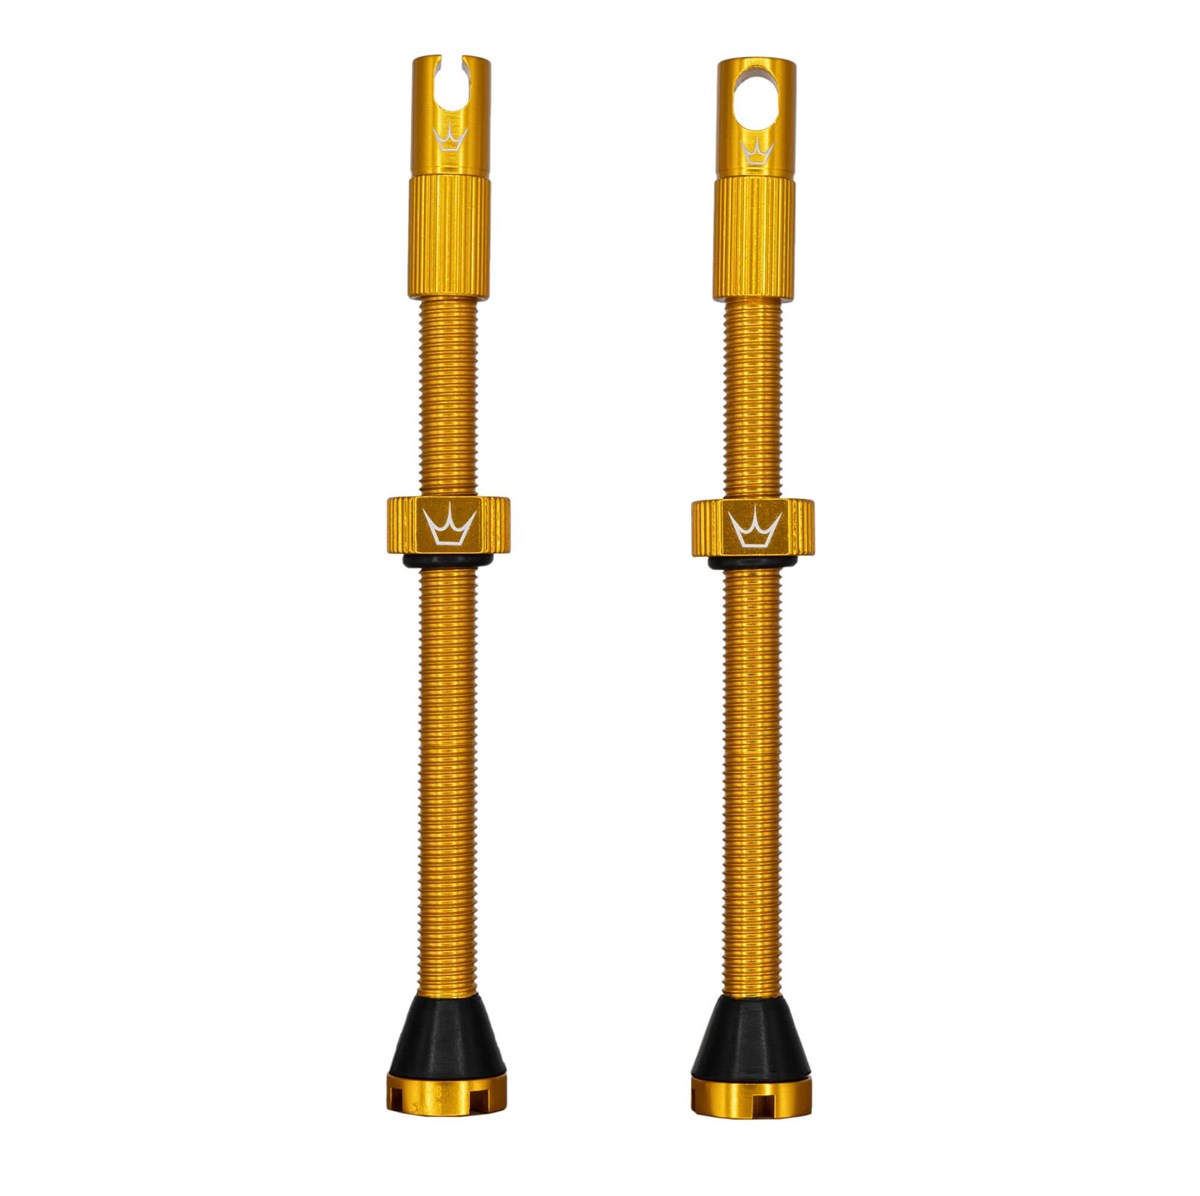
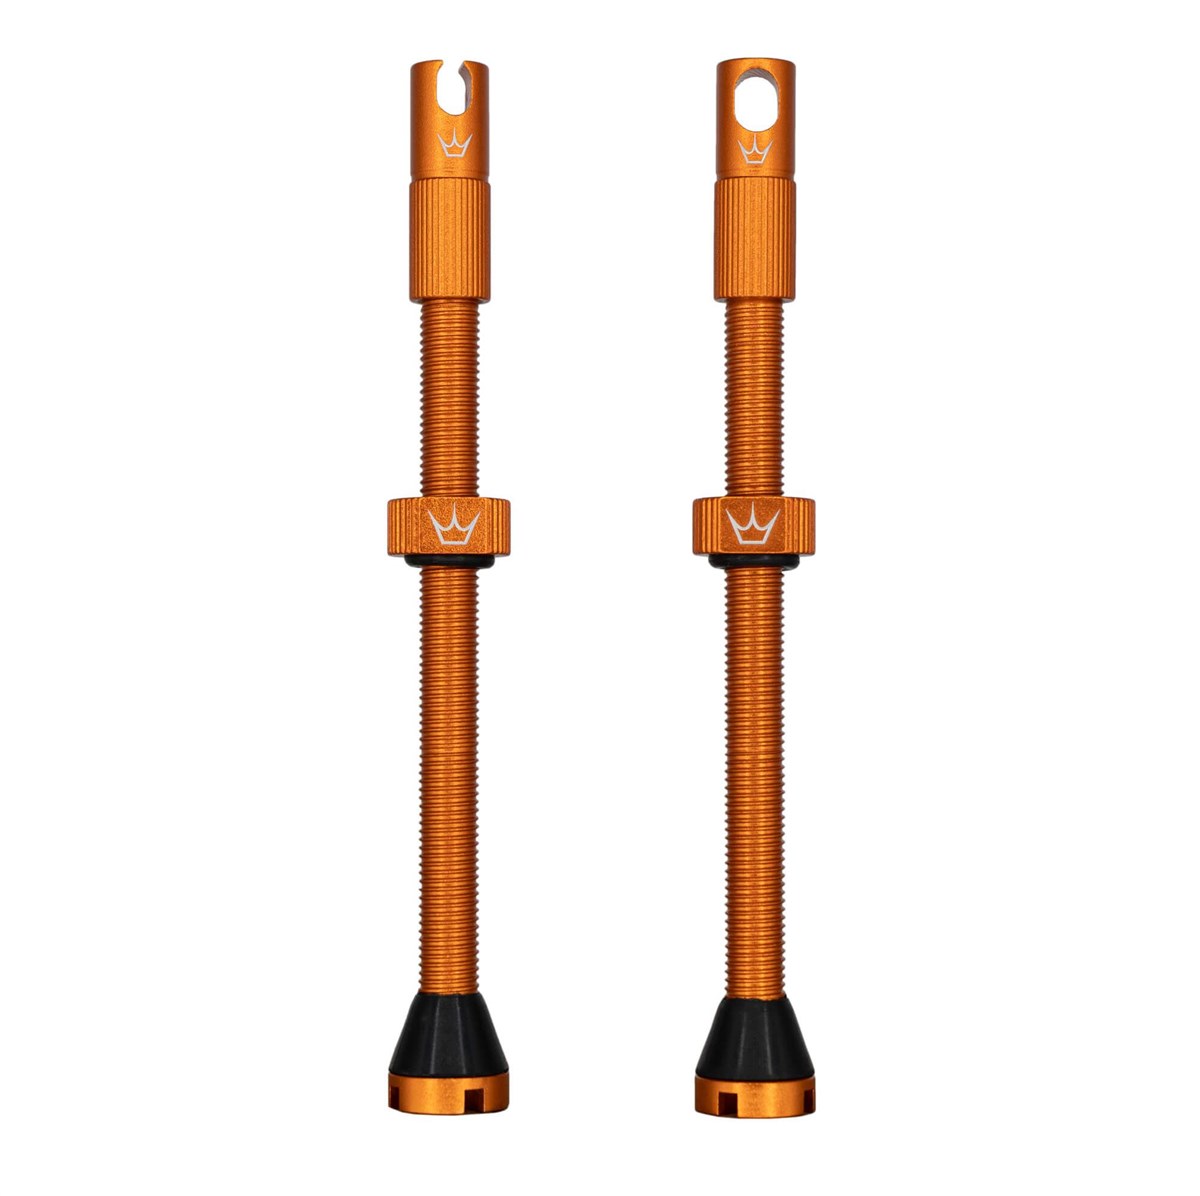
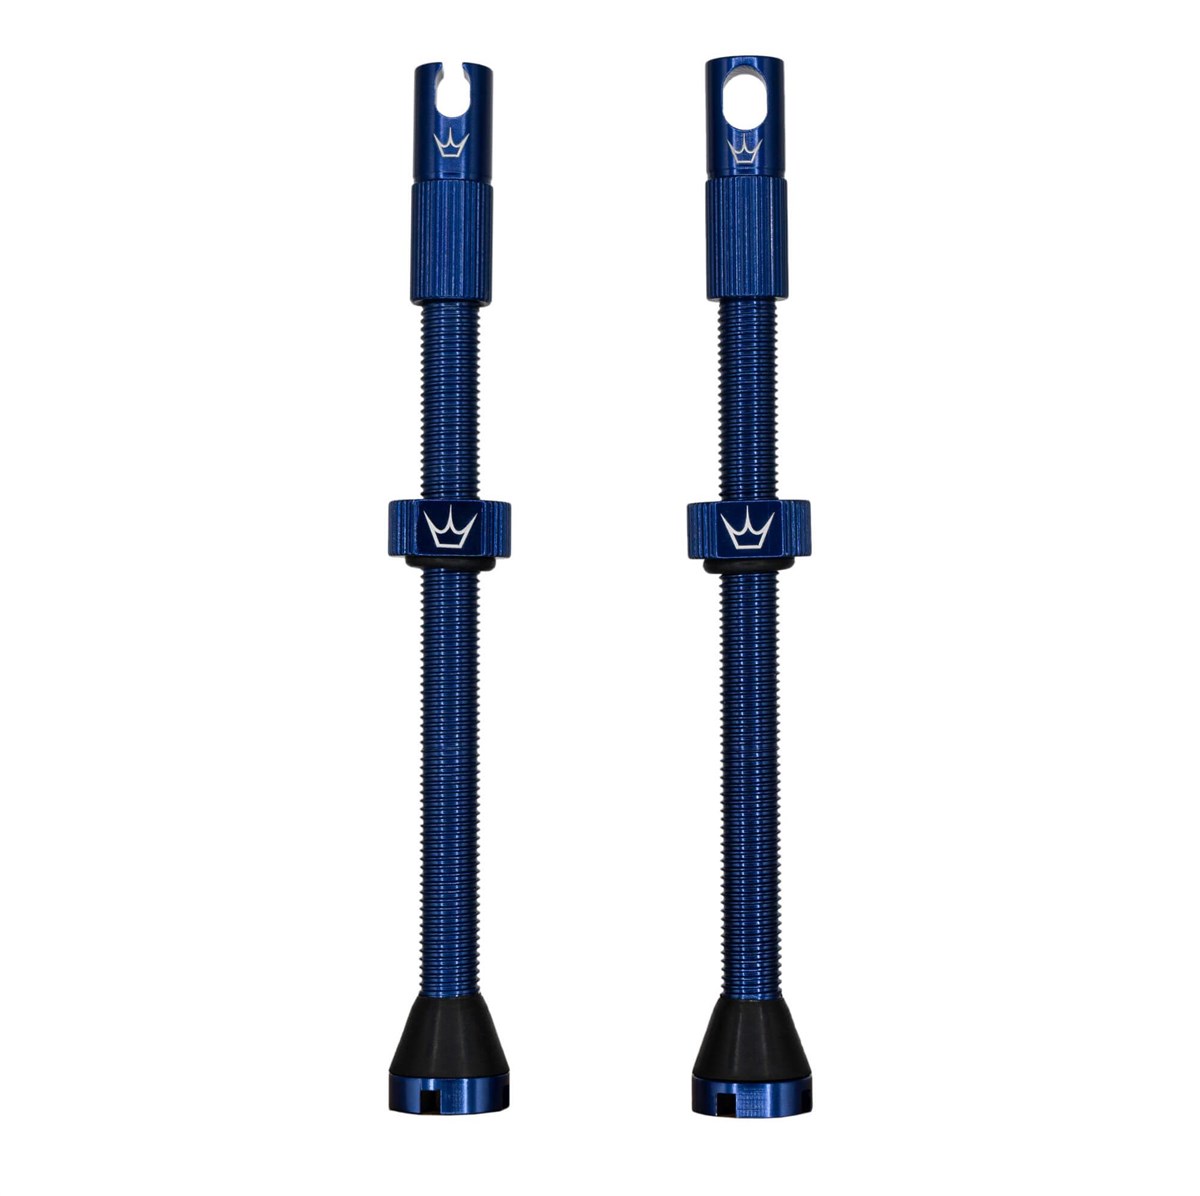
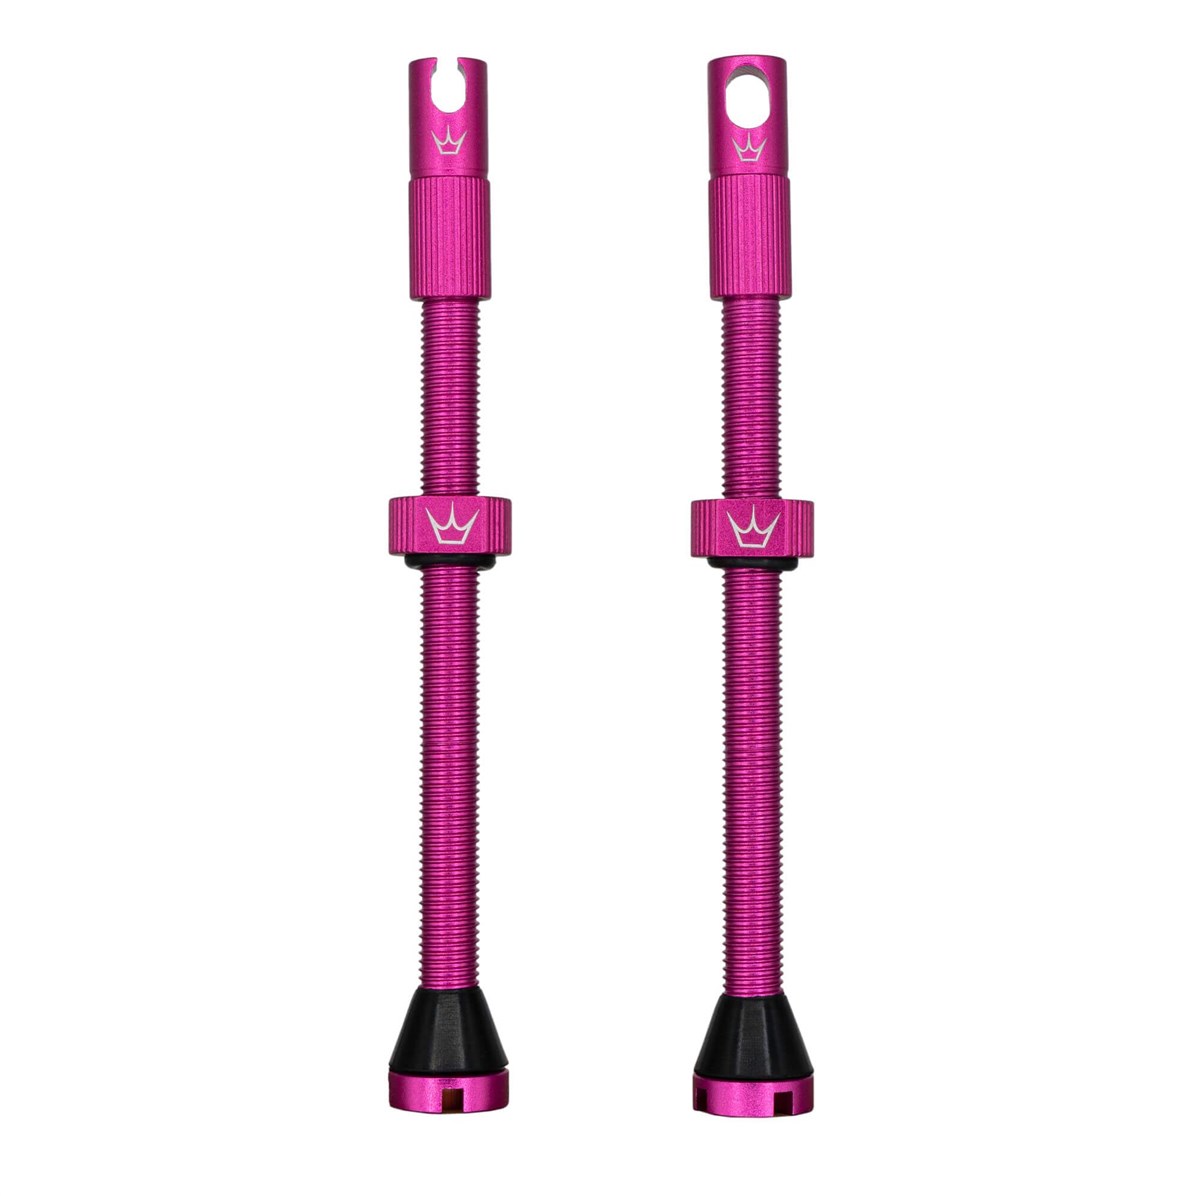
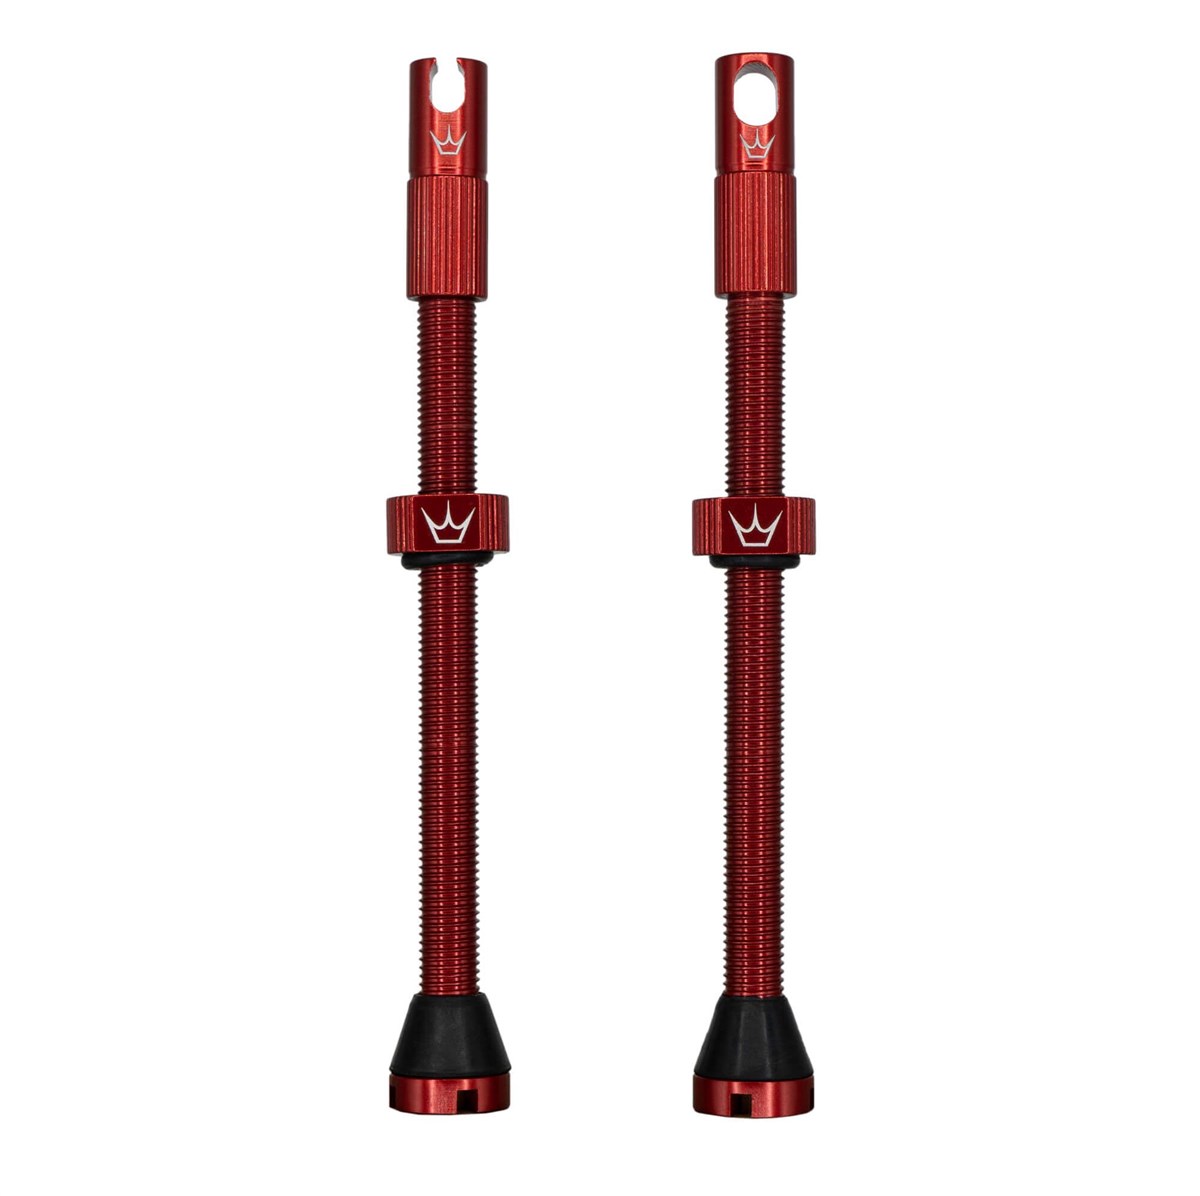
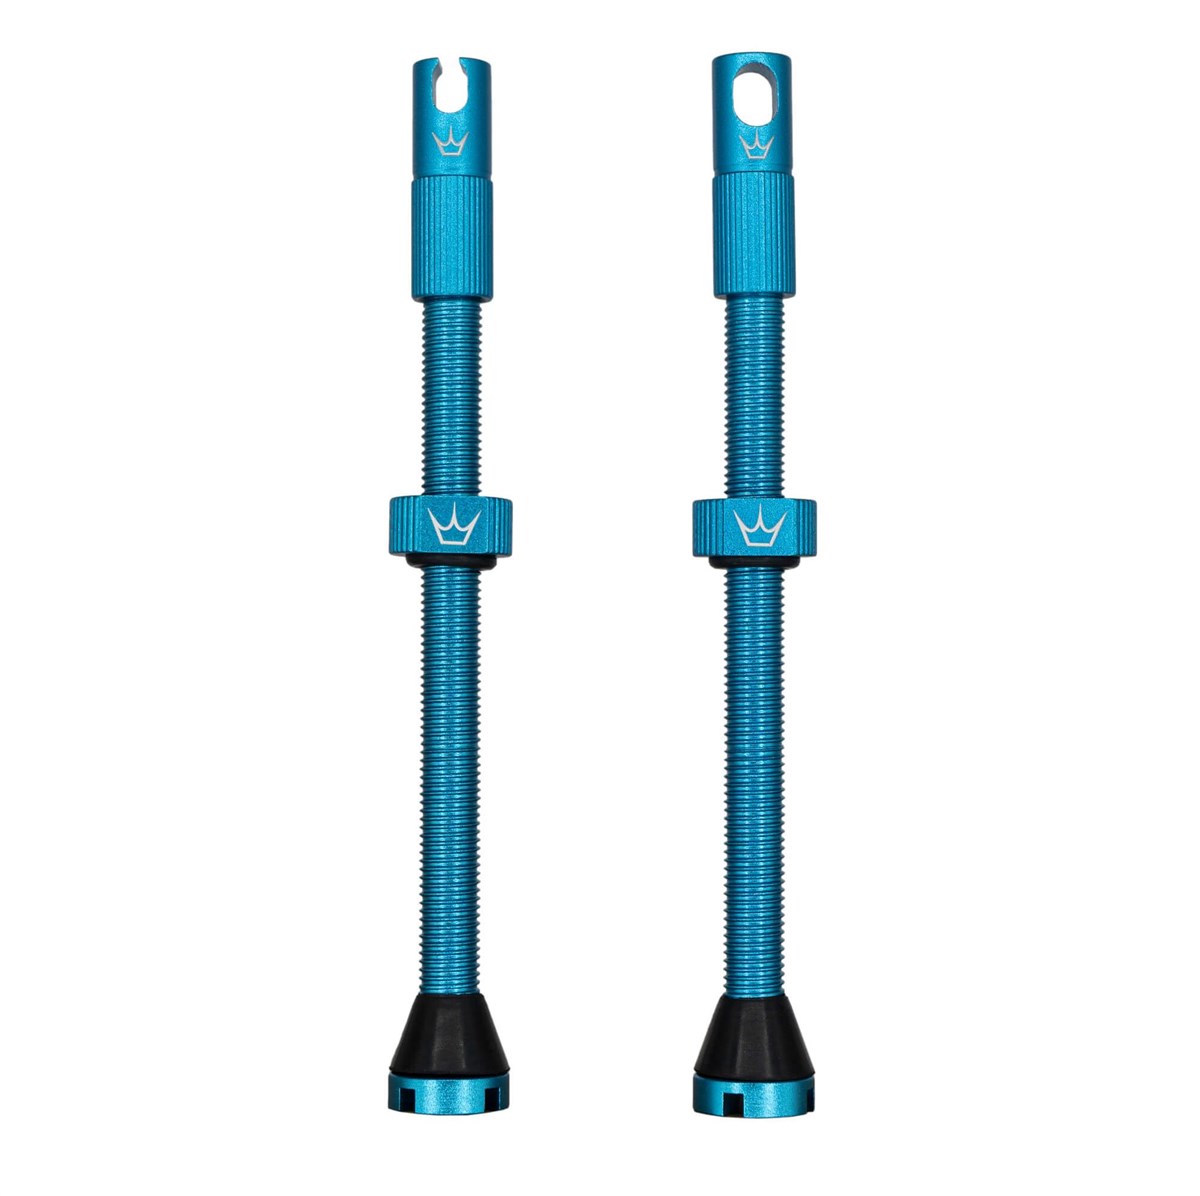
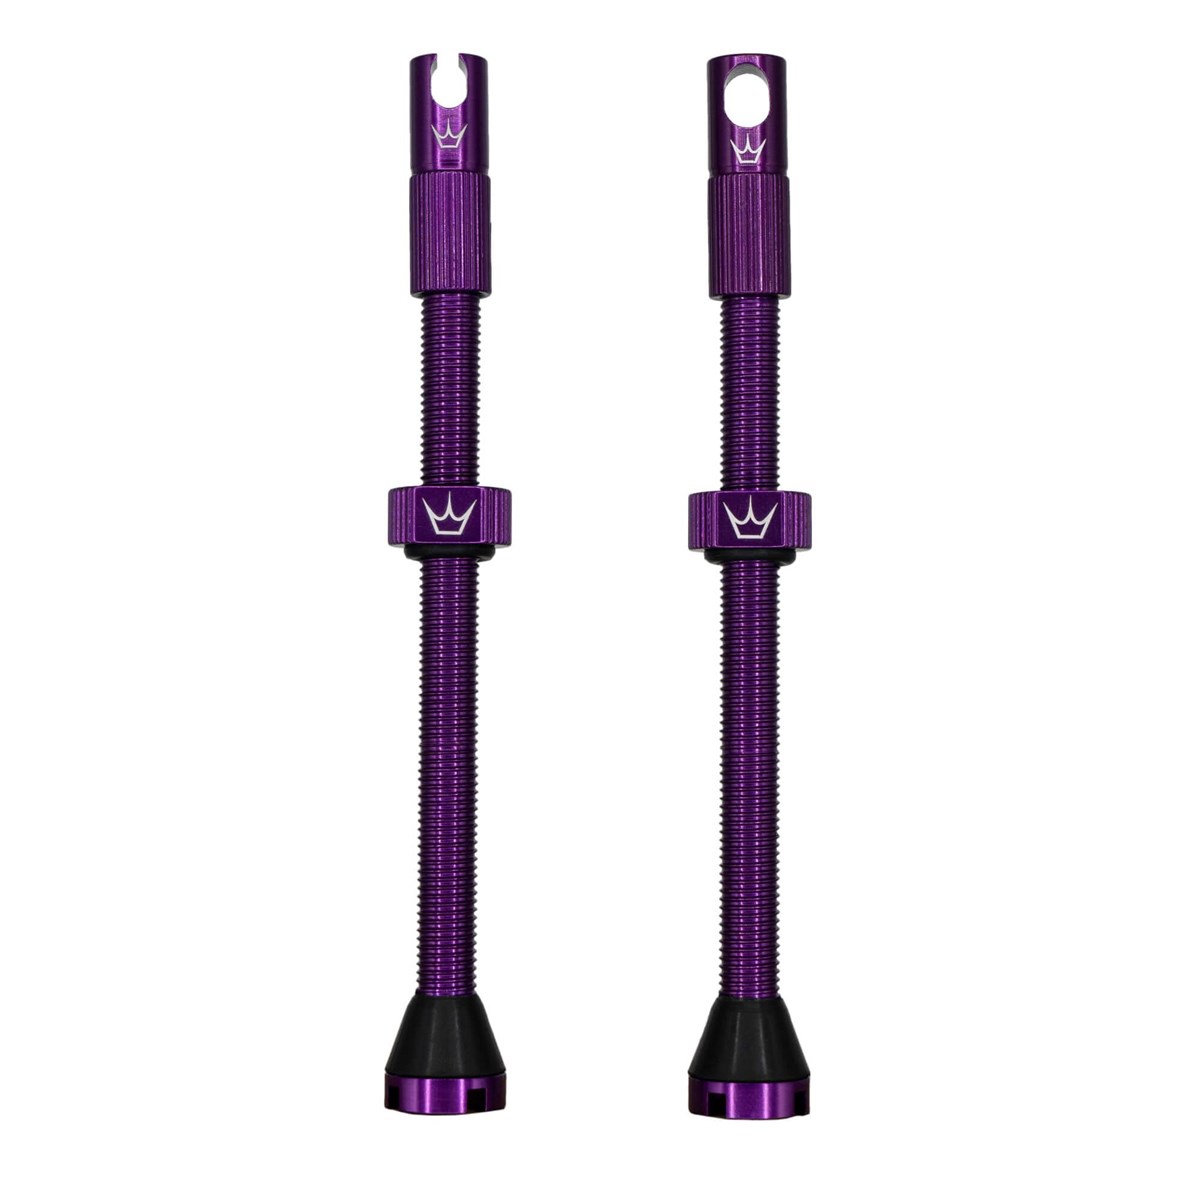
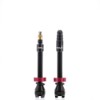
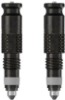
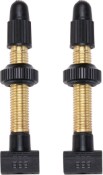
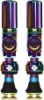
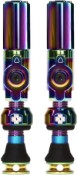
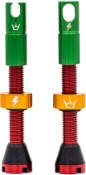
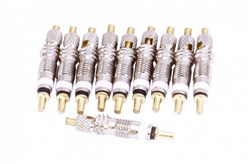
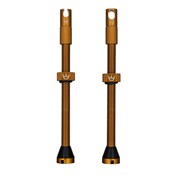
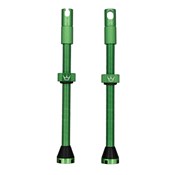
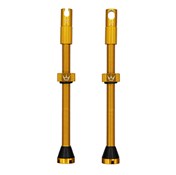
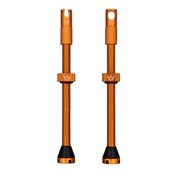
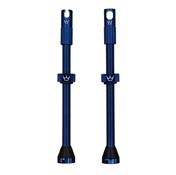
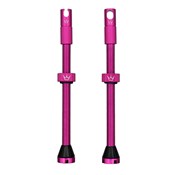
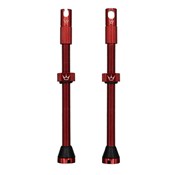
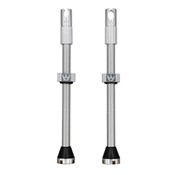
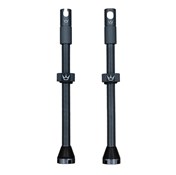
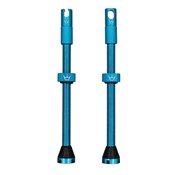
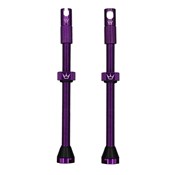
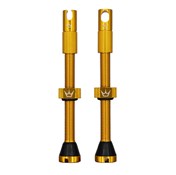
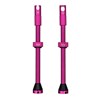
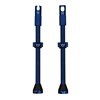
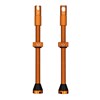
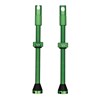
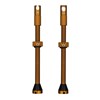
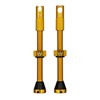
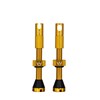
With design, sustainability & quality running right to the core, there's only one company we could work with on our valve colours - Chris King! With our valves for life guarantee and their stunning colourways, your bike is in for a real treat for years to come.
Occasionally, without notice, manufacturers change product design and/or specifications.
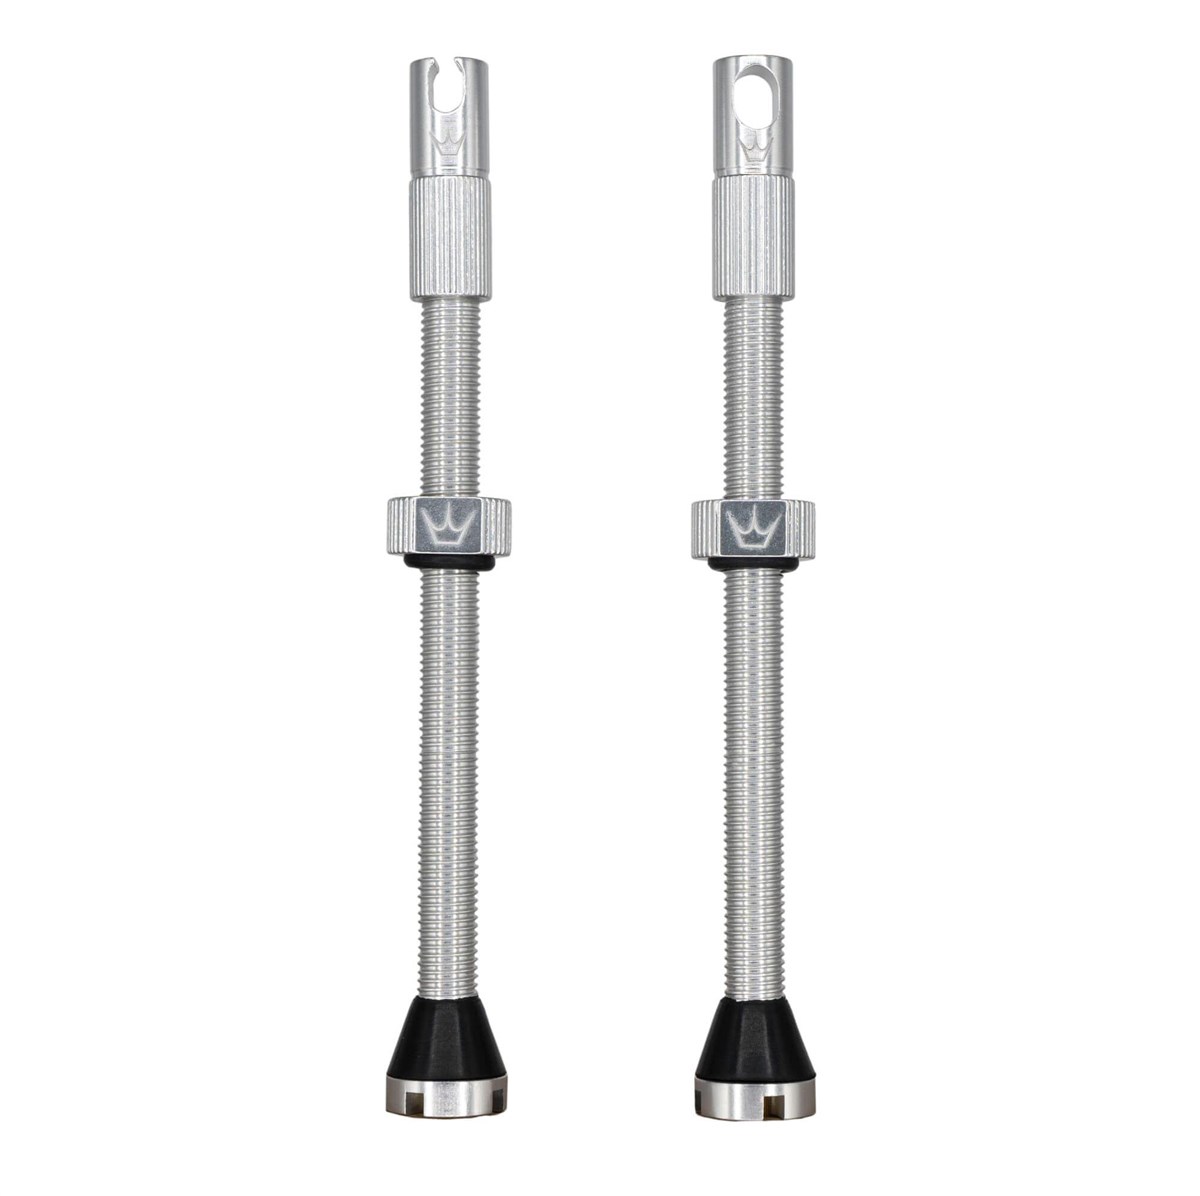
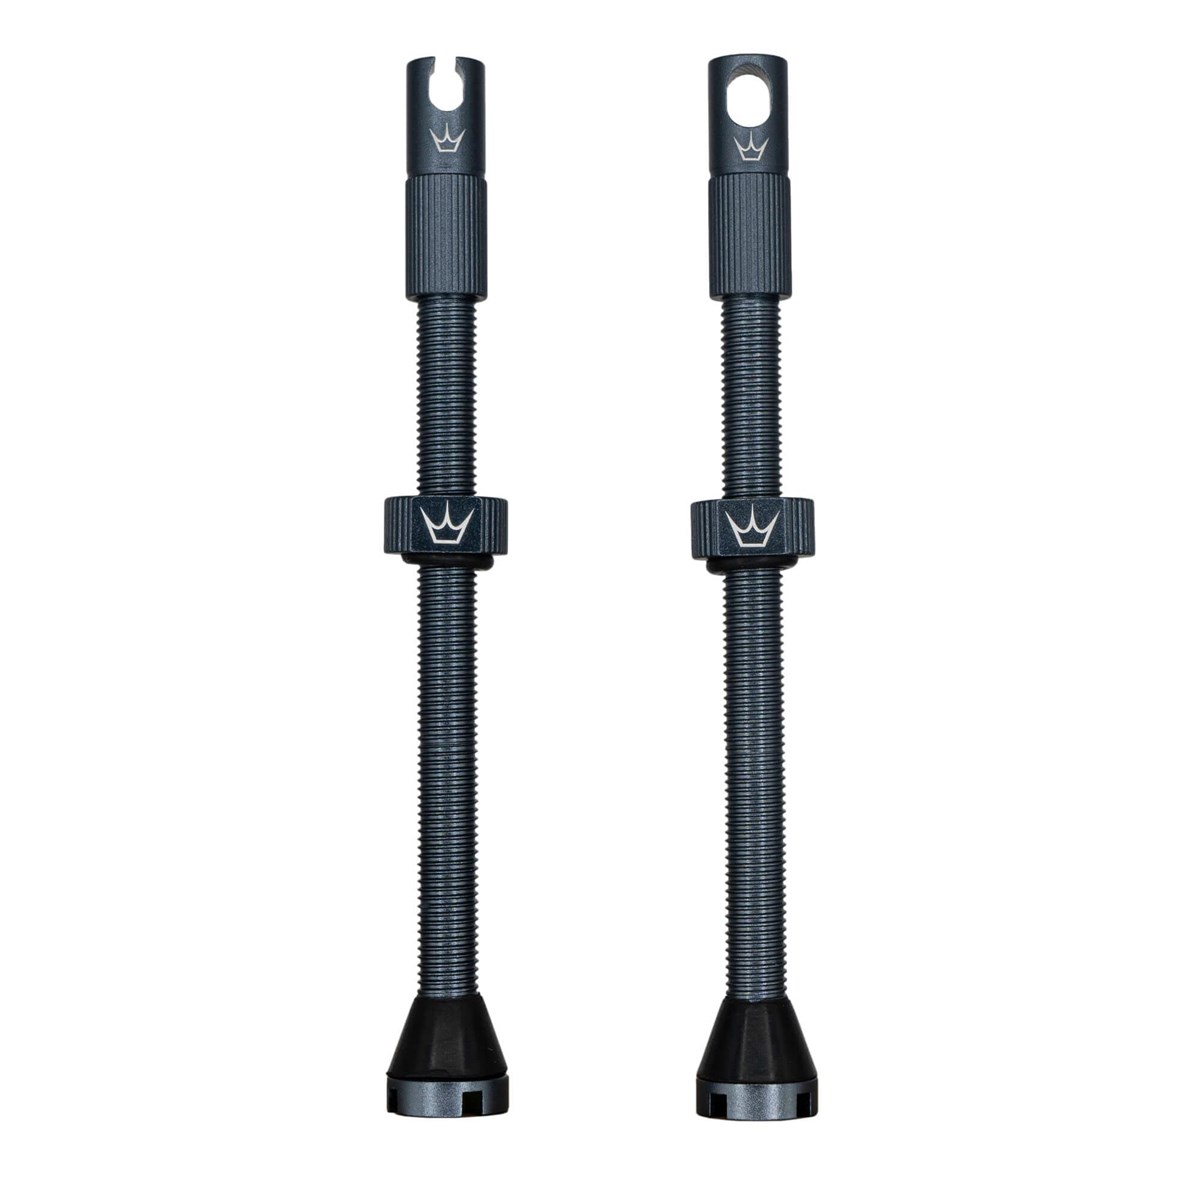
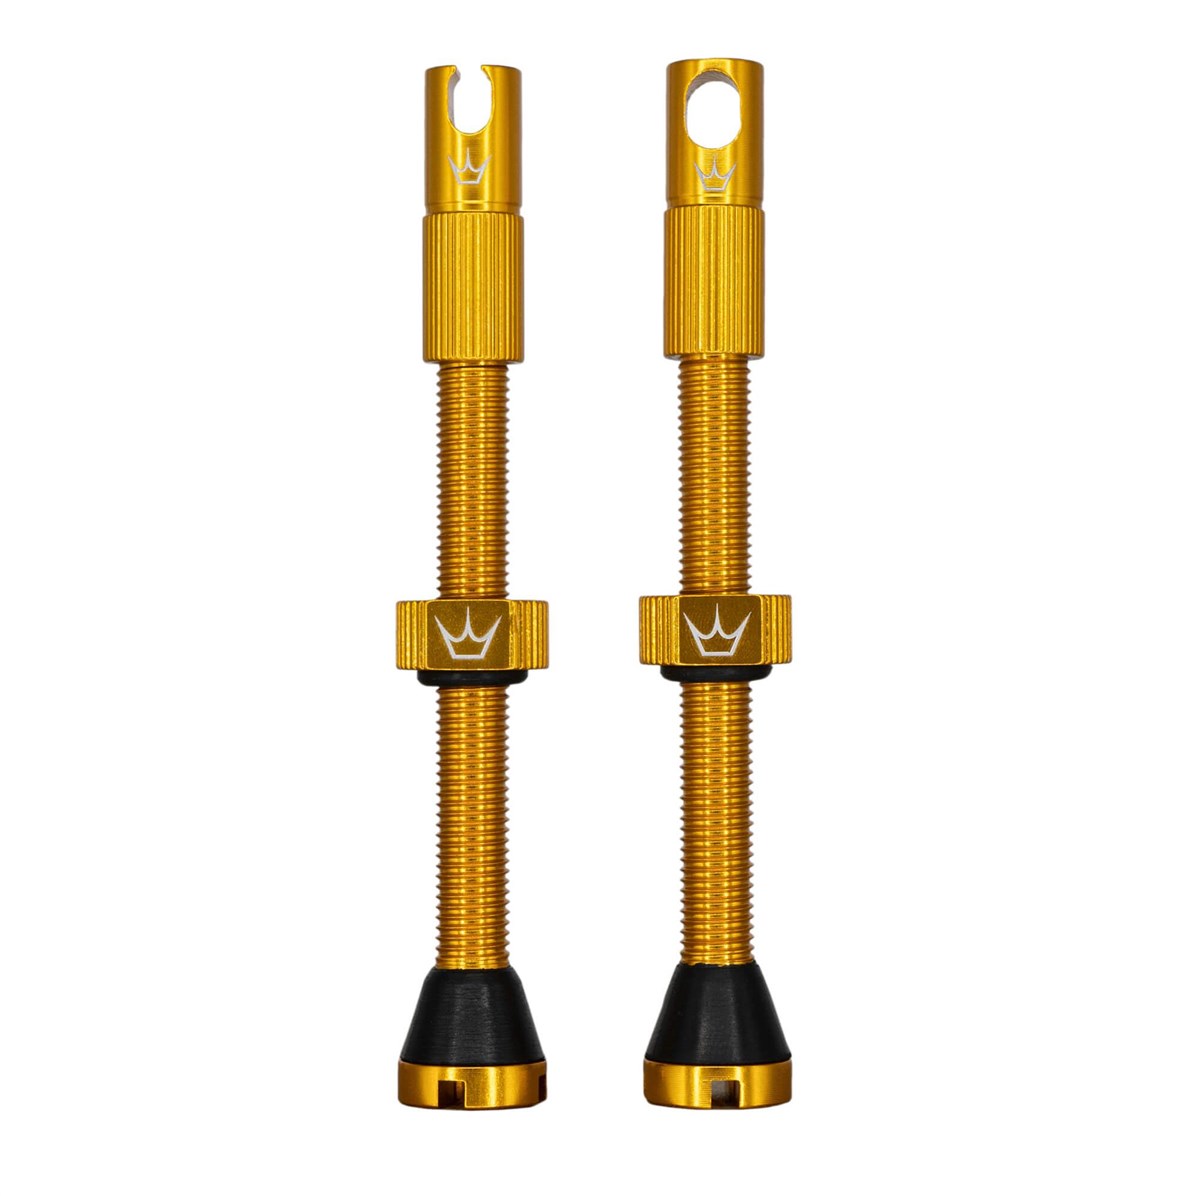
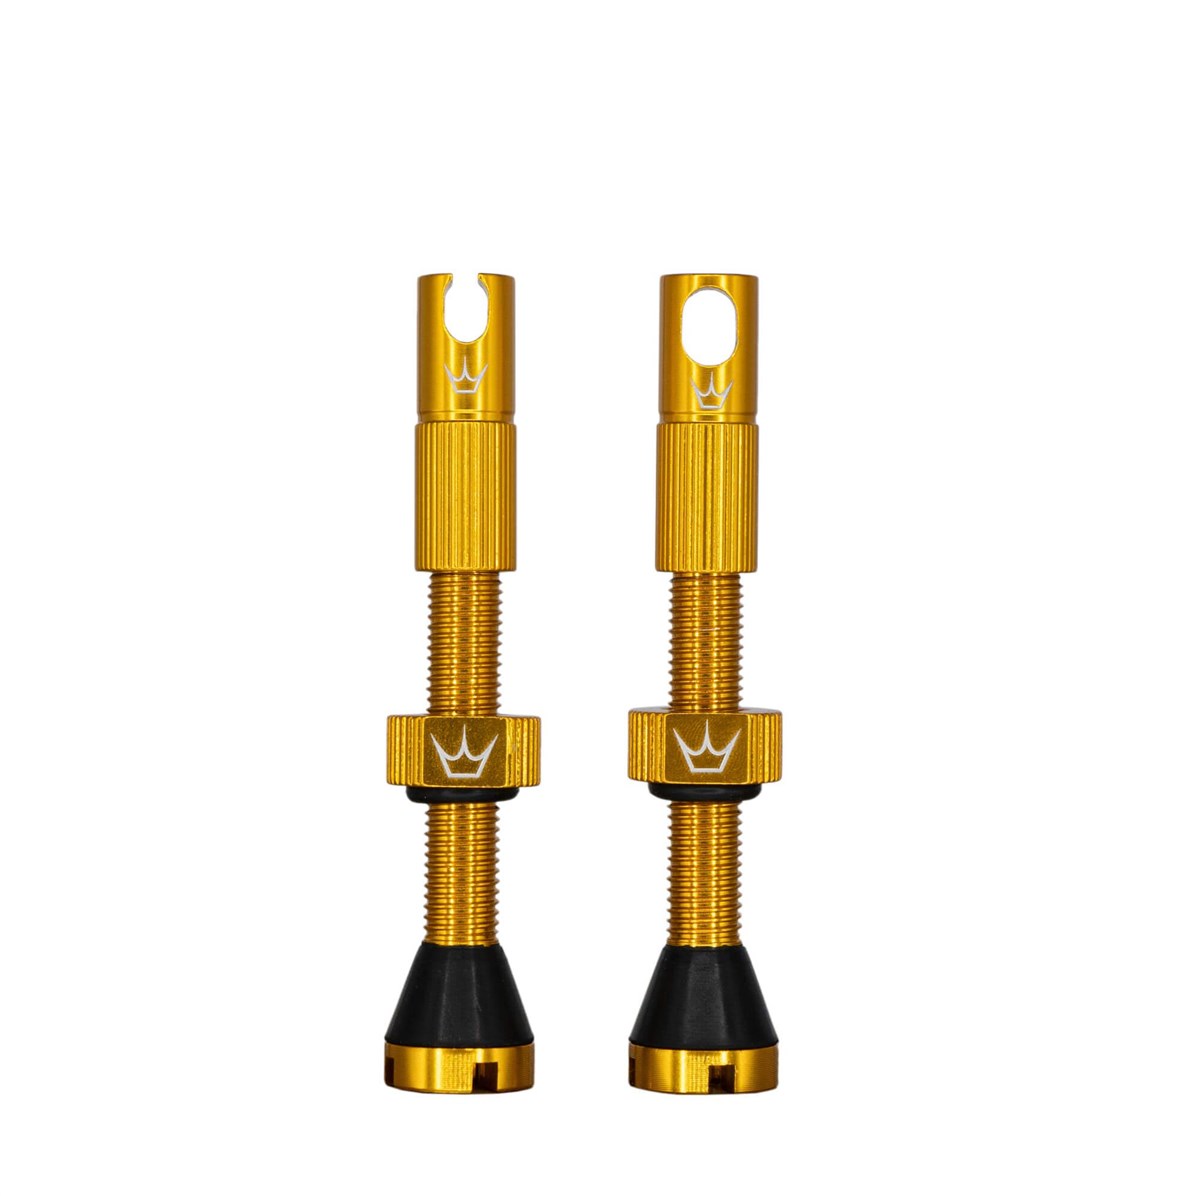
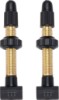
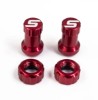
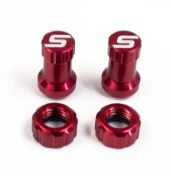
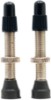
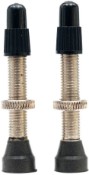
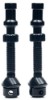
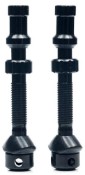
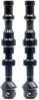
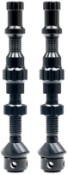
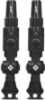
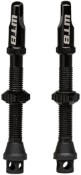
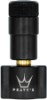
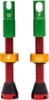
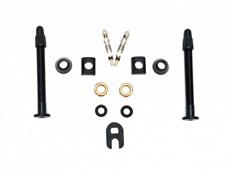
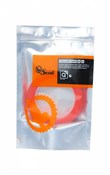
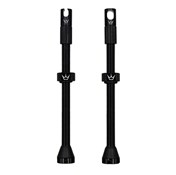
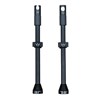
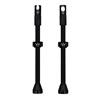
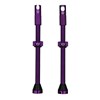
Made from premium lightweight, high strength 7075 aluminium, Peaty's MK2 Tubeless Valves fit most tubeless setups from MTB to road and cyclocross, including carbon, enduro and DH rims.
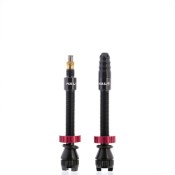
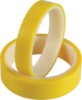
Our unique x-cut base has been designed to work with all tyre inserts. The channels cut into the base of the valve allow air and sealant to pass through when inserts are pushed up against them. Unlike most other insert-compatible valves, our valves have a straight-through design so there's no reduction of sealant or air flow when tyre inserts are not used.
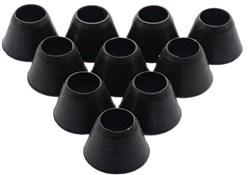
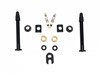
Fitting couldn't be easier. integrated o-rings prevent the lock rings from scratching your precious rims and large soft rubber bases easily create an airtight seal.
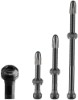
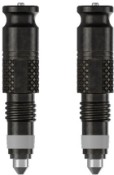
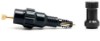
Designed by riders, for riders. Our valves come as standard with an integrated valve core remover cap and spoke key cap (for standard 3.4mm spoke nipples). This makes tightening loose spokes and topping up with sealant a breeze, either in the workshop or out on the trails.
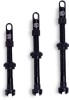
Crushed a rubber or snapped an o-ring? No problem, check out our maintenance kits to spruce up your valves when swapping to your next set of wheels or new bike.
Instructions:
- Remove valve cap, o-ring and lock nut.
- Insert valve through valve hole in rim.
- Push the o-ring onto valve stem.
- Thread the lock nut onto valve stem.
- Hand tighten lock nut until firm.
- Screw on valve cap.
Occasionally, without notice, manufacturers change product design and/or specifications.


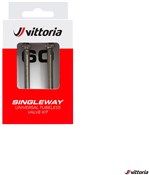
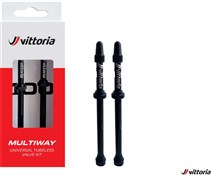
 Tubeless Valves")